
How to Block Acrylic Yarn Like a Pro!
- Samantha Russo
- Dec 23, 2024
- 3 min read

Updated: Jan 27, 2025
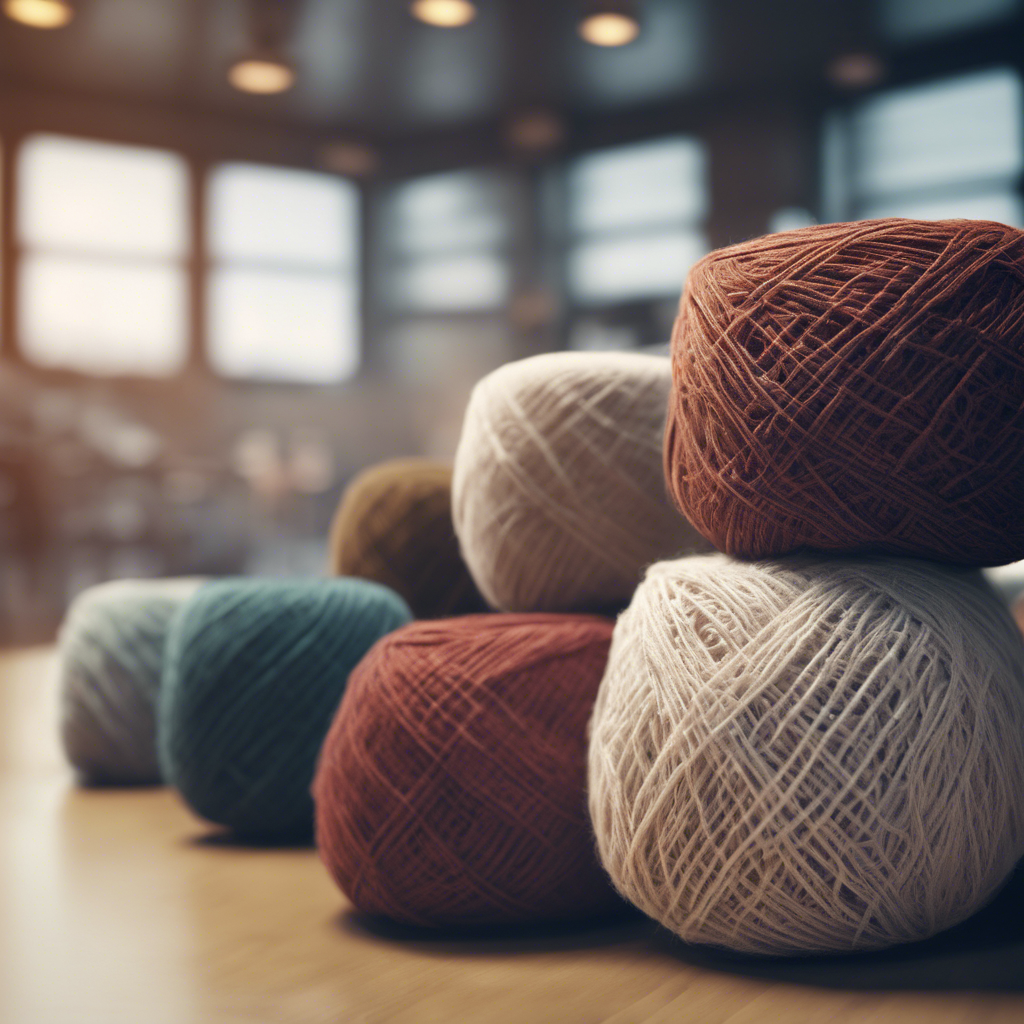
Hooray, fellow yarn enthusiasts! If you’re eager to take your knitting and crochet game to the next level, you’ve come to the right place. Today, we are exploring the exciting world of blocking acrylic yarn. This important technique can take your projects from "meh" to "wow!"
The Lowdown on Blocking: What's the Big Deal?
So, what's the deal with blocking anyway? Imagine your lovely handmade sweater or intricate doily looking a bit wonky, lacking that polished finish. Blocking is the secret sauce that smoothens out the kinks, evens the stitches, and transforms your project into a masterpiece worth showing off!
Be Careful Blocking Acrylic Yarn
Plastic Composition: Acrylic yarn is made from synthetic fibers. This means it can react differently to heat and water compared to natural fibers.
Heat Sensitivity: When blocking, avoid high temperatures. Acrylic can melt or lose its shape if exposed to heat sources like steam.
Limited Reshape Ability: Unlike wool, acrylic doesn't hold its shape as well after blocking. It may revert back to its original state over time.
Color Issues: The dye used in acrylic yarn can bleed when wet. This can affect the final look of your project if not careful.
Always consider these factors when working with acrylic yarn to achieve the best results.
Step 1: Gather Your Supplies!
Before we jump into the blocking party, make sure you have the right tools handy:
Acrylic Yarn Creation: Your magnificent piece that's begging for that flawless finish.
Tape Measure: To ensure your project reaches its intended dimensions.
T-Pins: These trusty little pins will be your best friends during the blocking process.
Blocking Mat: A soft, cushy surface where your project can relax and reshape.
Step 2: Get Wet and Wild!
Now, let’s get down to the nitty-gritty! Follow these steps to block acrylic yarn like a seasoned pro:
Soak: Immerse your project in lukewarm water for about 15 minutes. Don’t be shy; let it soak up some moisture!
Press and Squeeze: Gently press out the excess water without wringing or twisting your creation. Handle with care!
Lay Out: Place your project on the blocking mat, reshaping it to the desired dimensions. Time to unleash your inner artist!
Step 3: Pin, Pin, Pin!
This is where the magic truly happens! Grab those T-pins and start pinning your project along the edges, guiding it to its picture-perfect form. Think of yourself as a sculptor, molding yarn instead of clay! Embrace the process and let your creativity run wild.
Step 4: Let It Dry and Unleash the Wow!
After all your hard work, it’s time to let nature do its thing. Allow your project to dry completely, basking in the sweet anticipation of the big reveal! Once dry, unpin your creation and behold the stunning transformation. You'll be amazed at the difference a little blocking can make!
Ready, Steady, Block!
And there you have it, folks – your crash course in mastering the art of blocking acrylic yarn. With these tips and tricks up your sleeve, you’re well on your way to creating show-stopping pieces that will dazzle and impress. So go forth, embrace the yarn, and let your creativity soar to new heights! Happy crafting!
Remember, practice makes perfect, so don’t be disheartened if your first attempts aren’t flawless. Keep experimenting, hone your skills, and most importantly, have fun. The knitting and crochet world is your oyster – now go and create something magical!
Don’t forget to follow us on socials!
Threads @cozythreads.ca
Instagram @cozythreads.ca
Facebook @cozythreads.ca
Pinterest @cozythreadsca


